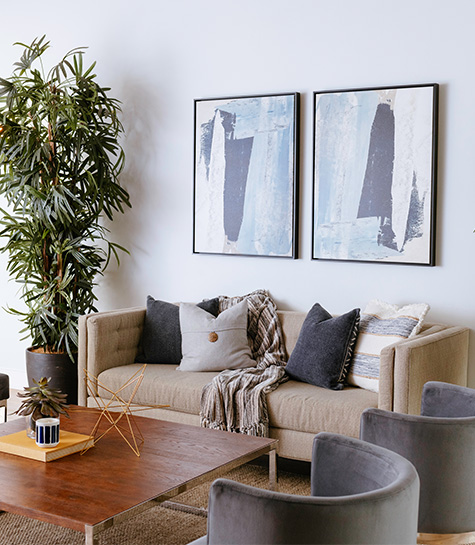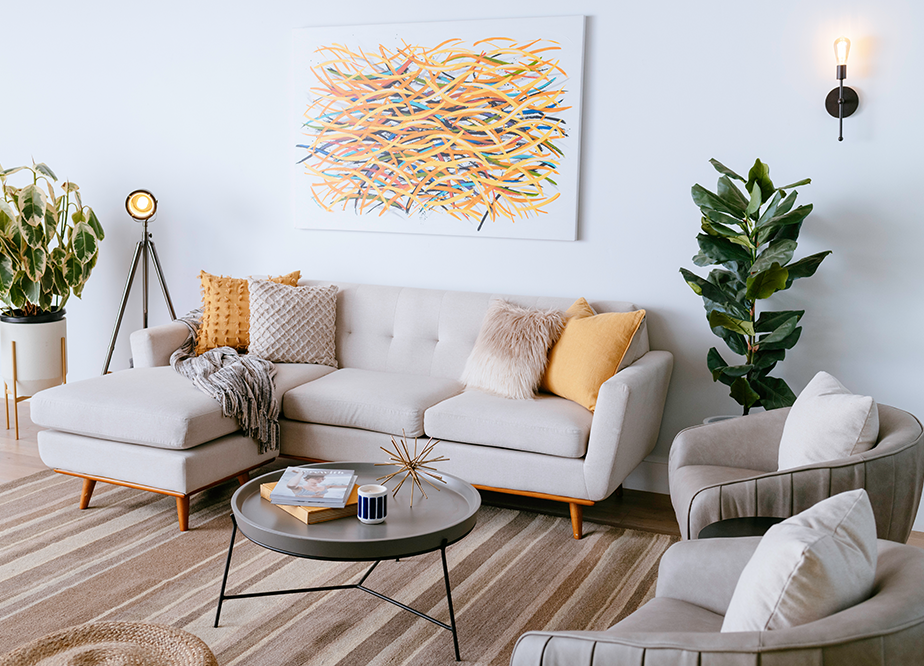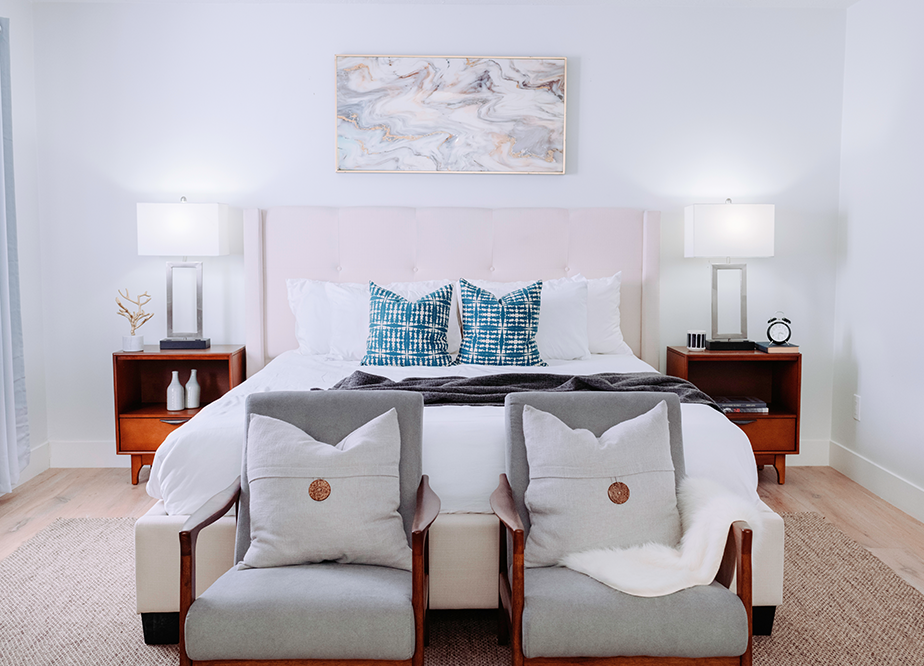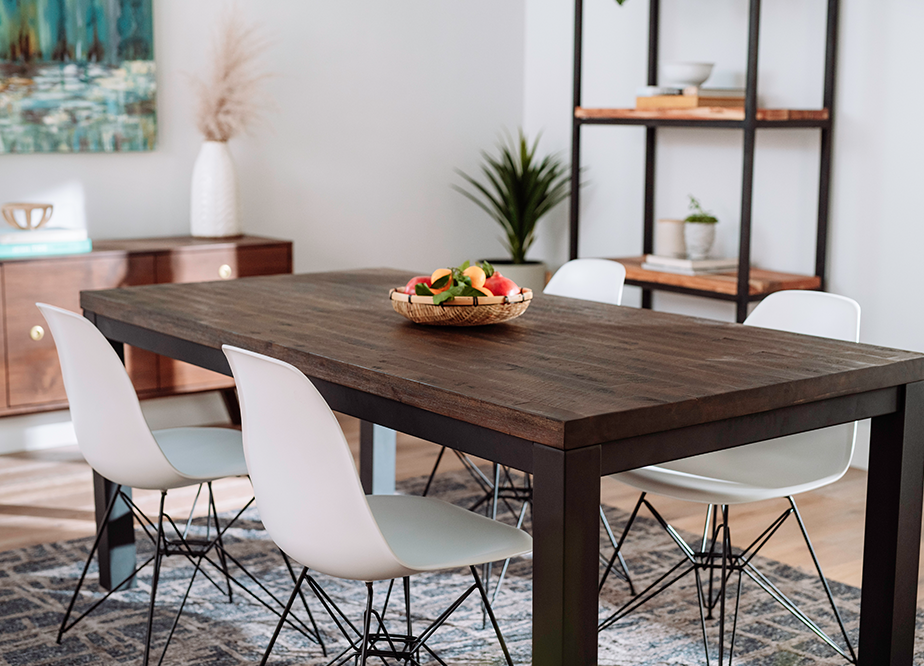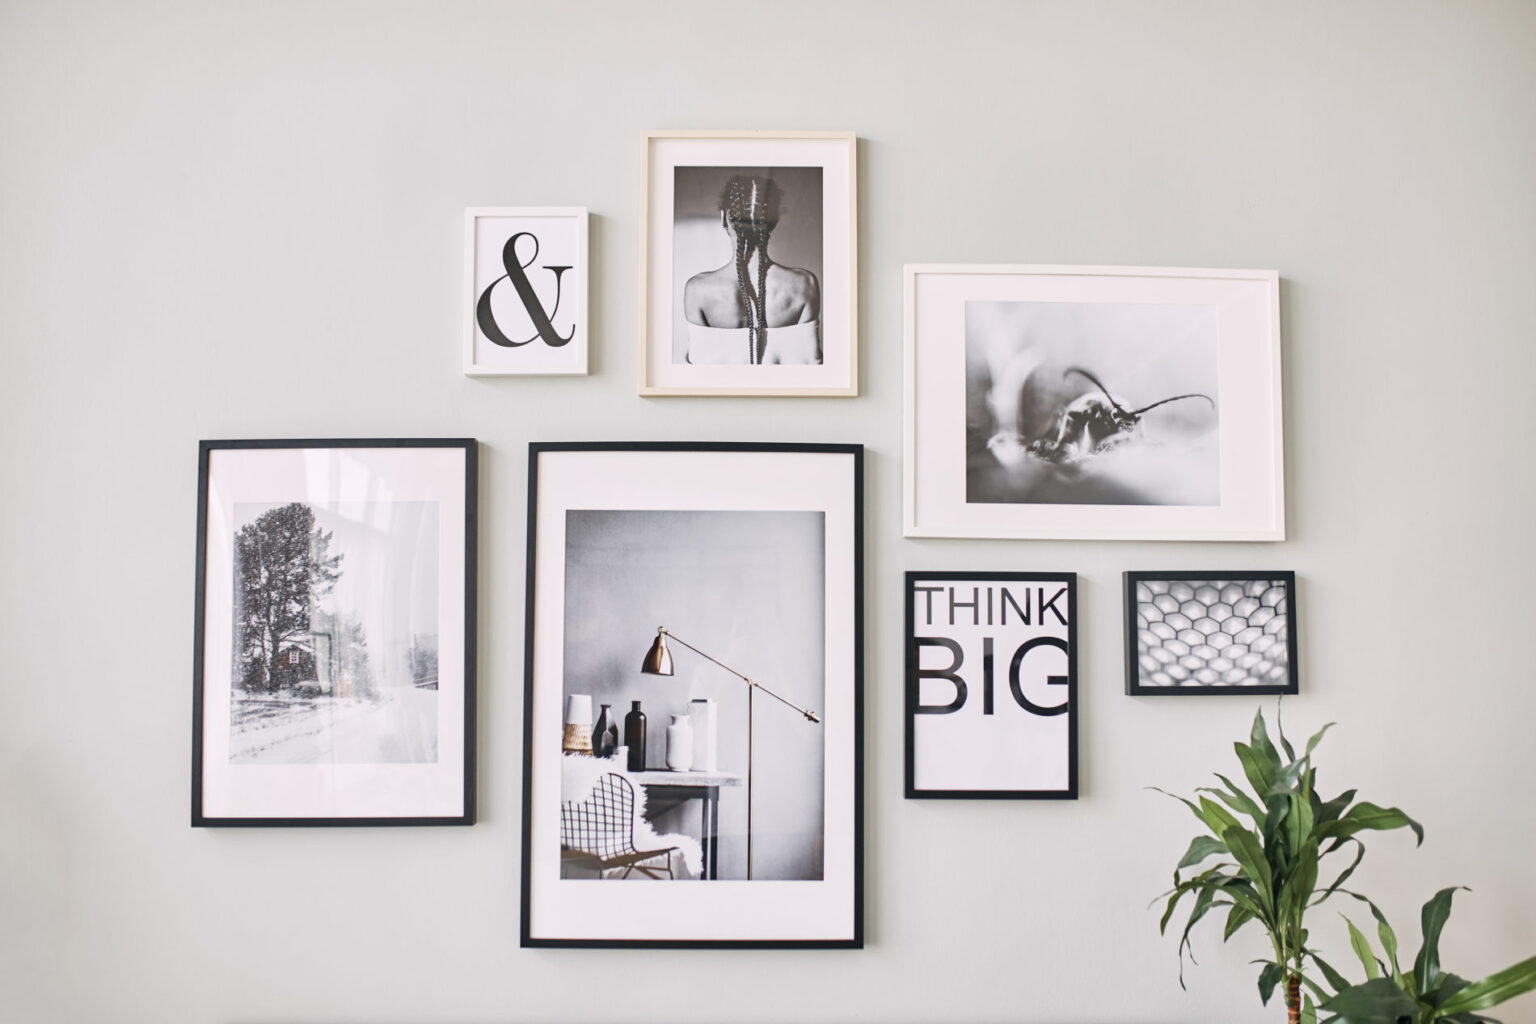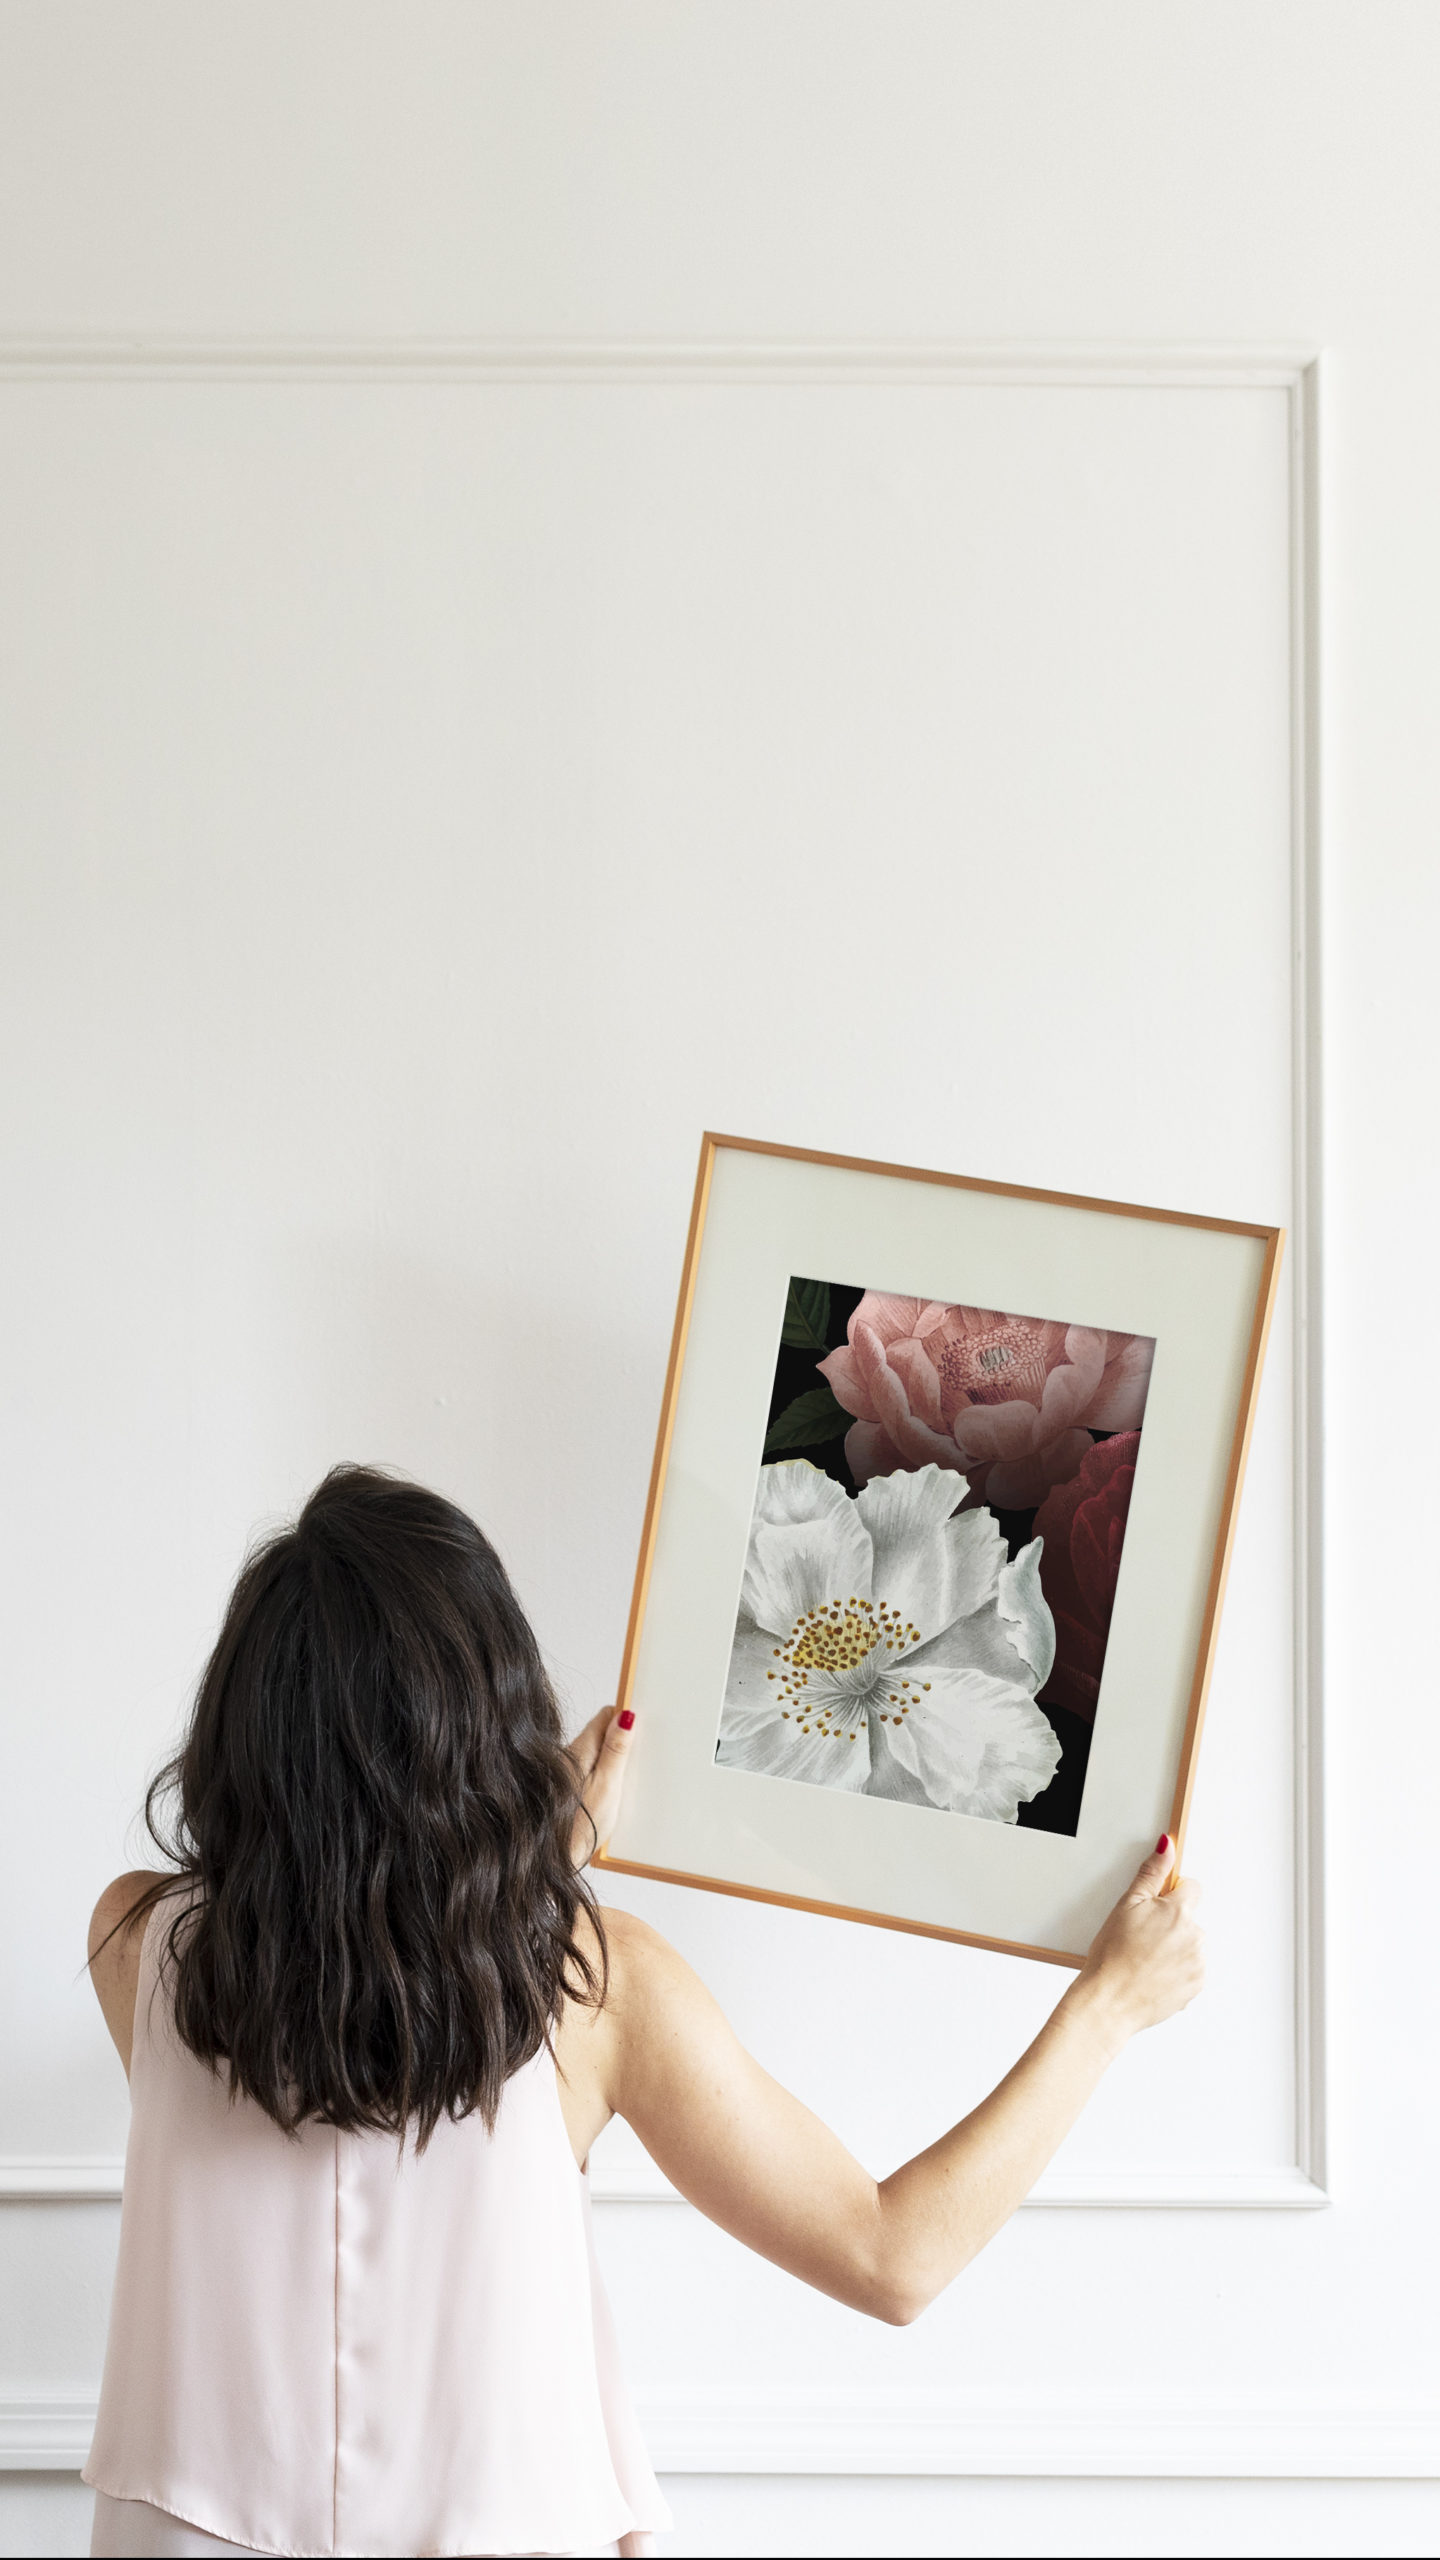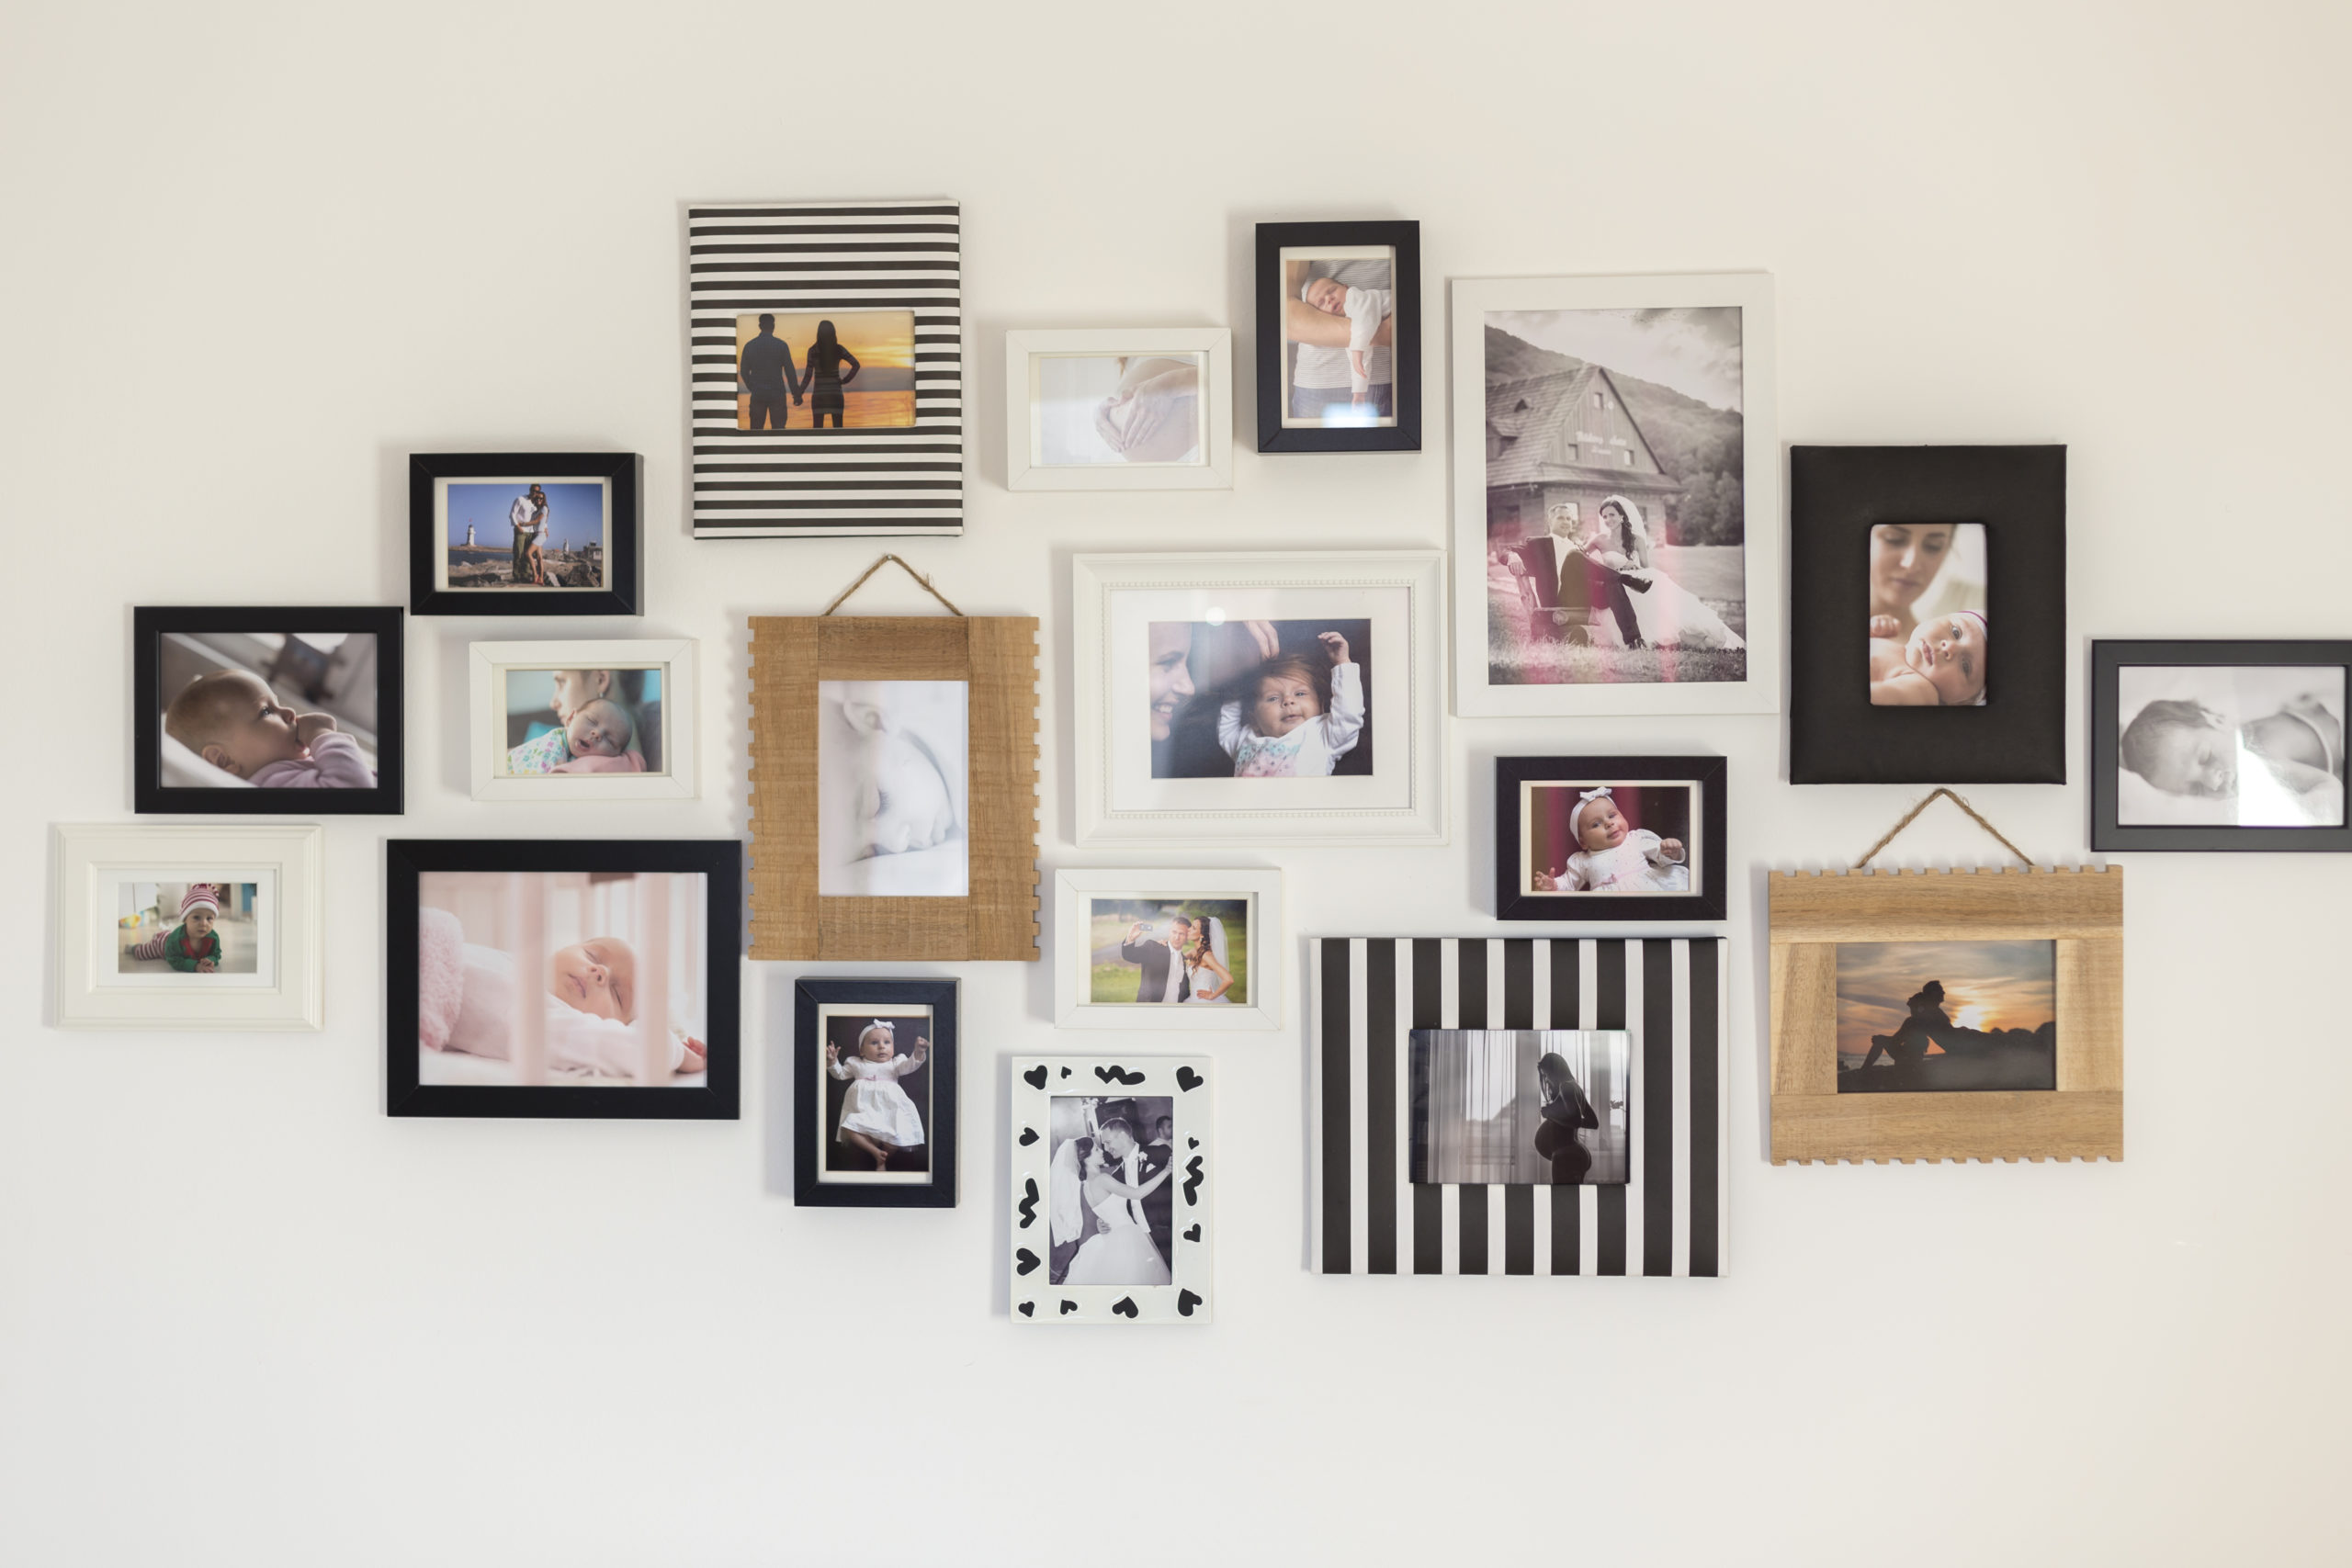
Do you have a large, blank space on a wall in your home? If yes, you probably toyed with the idea of hanging a gallery wall. This design trend is super popular and totally customizable to your home. It’s a great way to show off family photos, your favorite art prints, or even beloved textiles. Creating a gallery wall may seem as simple as slapping up a few framed photos, but to hang a successful design (and not create a million holes) there is a process that will make the whole thing easier when it’s said and done. Follow these steps and you’ll have the perfect gallery wall in no time!
Dedicate A Wall
Perhaps the most important step of the whole process: picking the space for your gallery wall! There is no wrong place to put a gallery wall as long as you love it. Some of the most popular spots are:
- The dining room, so you can show off your style and art to guests
- Along your staircase. This is often prime real estate to display family photos
- Above your bed, either in addition or in place of a headboard, add personalization to your room.
Decide Your Style
Do you want your gallery wall to be straight rows with even spaces between each frame? What about a cluster or staggered? Do you want different size frames? Think about how this gallery wall will fit in with the other decor in your home. Some gallery walls incorporate other pieces that aren’t in frames at all–the sky’s the limit!
Choose Your Art
The great thing about a gallery wall is it is custom and personal. Think about if you want all photos, a mix of photos, graphic design, or even textiles (your local frame shop or even online vendors can frame your favorite fabric pieces). Your pieces can match a theme or be more on the eclectic side. Remember that if something doesn’t look right you can switch out art and photos until you achieve your desired look.
Pick your frames
Decide whether you want all your frames to match, have a similar color scheme, or be mismatched. Stocking up on frames can get expensive, so try hitting up your local thrift store. You can often get frames for a few bucks and if they aren’t in the color you want, all you need is some paint for a quick craft project.
Make a template and hang your art
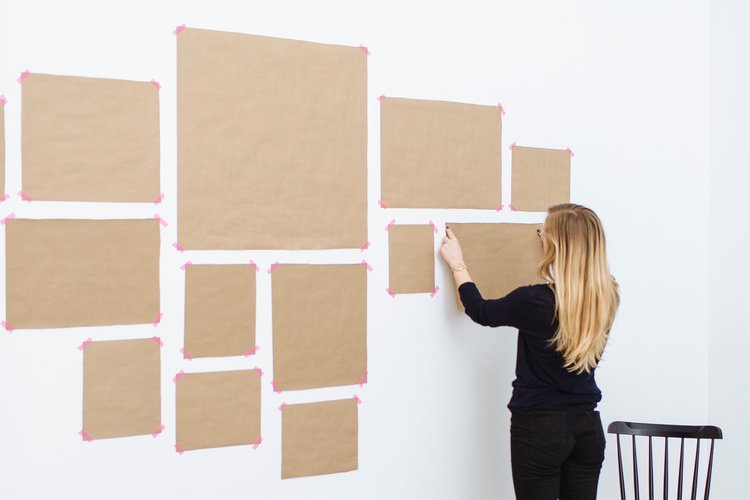
Test out your design before you start hammering the walls. Your neighbors–and your landlord–will thank you! Grab a roll of butcher paper for your favorite craft store and cut out squares in the same size as the frames you want to hang on the wall. You can also do a quick Google search for pre-designed templates to give you an idea of where to start. Cut out paper to match the size of the frame you want to use. Tape the paper on the wall and move the templates around until you decide on the perfect design. Once you’re satisfied with the look, you can hammer the nails into the wall, pull the paper off, and hang your frames. If you’re not feeling nails or if your rental prohibits putting holes in the wall, Command Strips are a great alternative.
Once you have your gallery wall up, sit back, relax, and enjoy the display! And when you’re ready to update your furniture to match your new design, contact the Fashion Furniture team and pick out pieces that are as stylish as you.